AndroidStudioEmulator-GUIconfig
The goal of this tutorial is to install Android Studio to run apps.
 |
This work is licensed under a Creative Commons Attribution-NonCommercial-ShareAlike 4.0 International License |
Table of Contents
1. Install required tools
NOTES TO LINUX USERS
- This tutorial was created with Windows OS in mind. However, appart from the installation process, the steps to set up Android Studio on Linux are the same (sections 2. and 3.).
- If you want to try the Android Studio Emulator without the GUI (to save resources), you can try this tutorial.
NOTES TO WINDOWS USERS
- The emulator installed with Android Studio requires the Intel Hardware Accelerated Execution Manager (HAXM) drivers to speed up the emulator. However, HAXM is not compatible with the “Windows Hypervisor Platform”;
- The “Windows Subsystem for Linux (WSL)” requires the “Windows Hypervisor Platform (WHP)” to work. Therefore, it is not possible to have both the WSL and the HAXM drivers running at the same time;
- If you want/need to have an Android emulator and WSL at the same time, you can try the Visual Studio instead of Android Studio. Visual Studio + Xamarin provides an IDE with support for running Android emulator with Hyper-V instead of HAXM (we didn’t test this solution).
- HAXM drivers are not compatible with AMD CPUs, but it’s still possible to run Android Studion Emulator in AMD processors.
Download and install the following tool:
NOTE
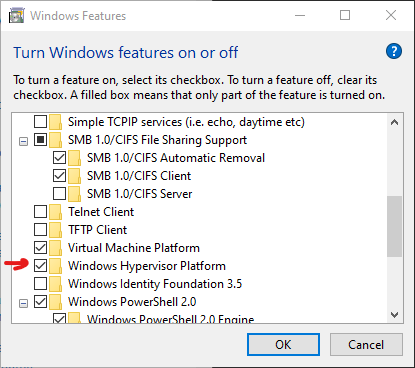
If you need to disable the “Windows Hypervisor Platform” type “Turn Windows features on or of” in the Windows search bar, then disable the feature from the menu by removing the check mark:
Then restart your computer (this is mandatory) and follow the installation steps bellow.
If you already installed Android Studio and need to install the HAXM drivers, run:
%LOCALAPPDATA%\Android\Sdk\extras\intel\Hardware_Accelerated_Execution_Manager\intelhaxm-android.exe
To install Android Studio, follow thess steps:
-
Step 1:
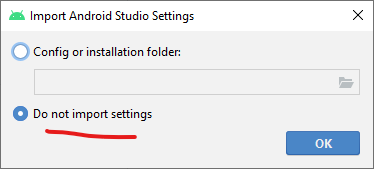
-
Step 2
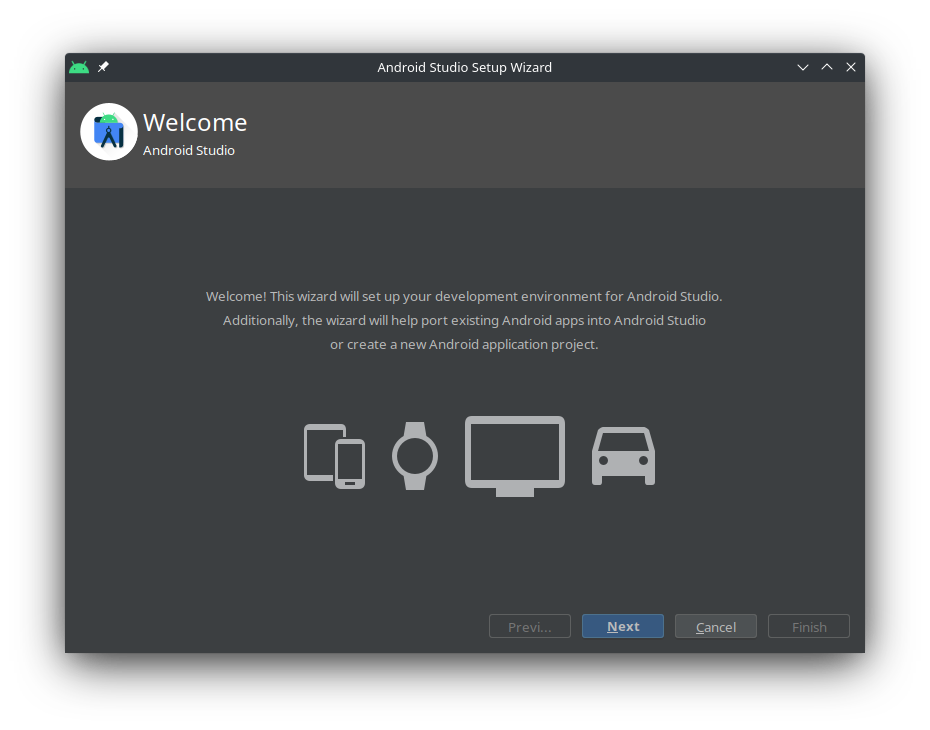
-
Step 3:
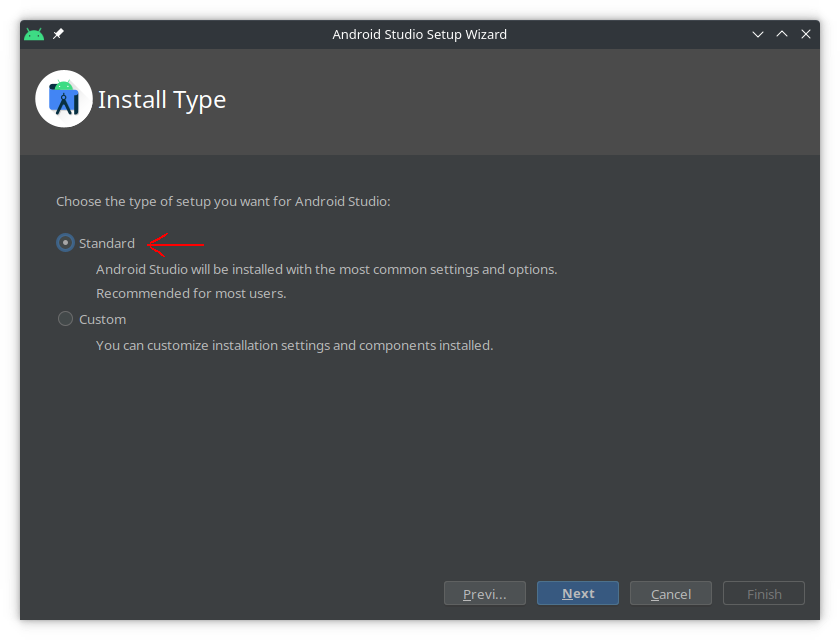
-
Step 4:
-
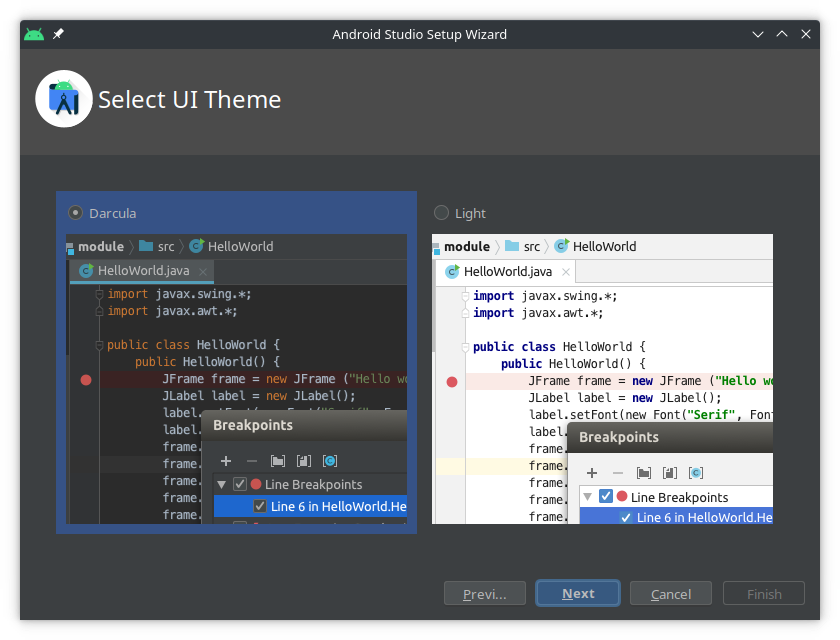
Step 5:
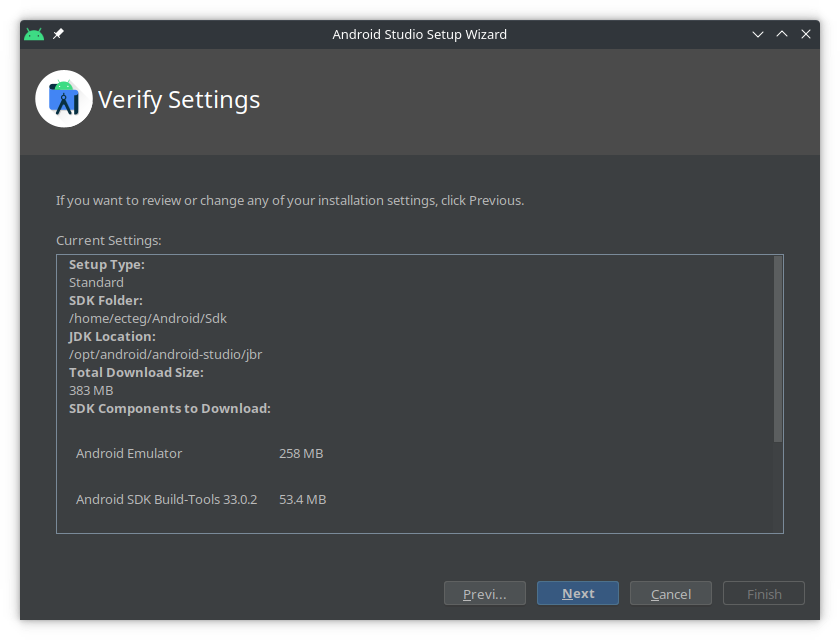
-
Step 6:
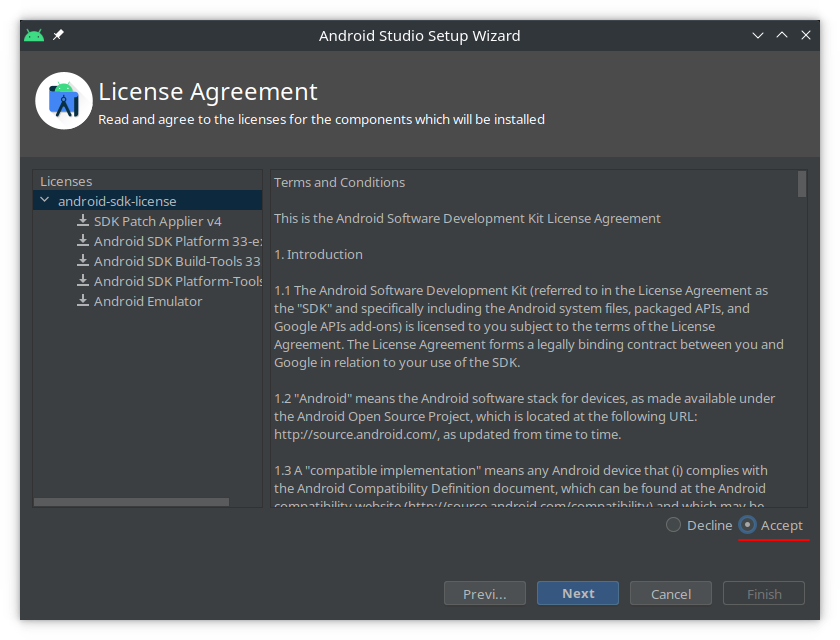
- Step 7:
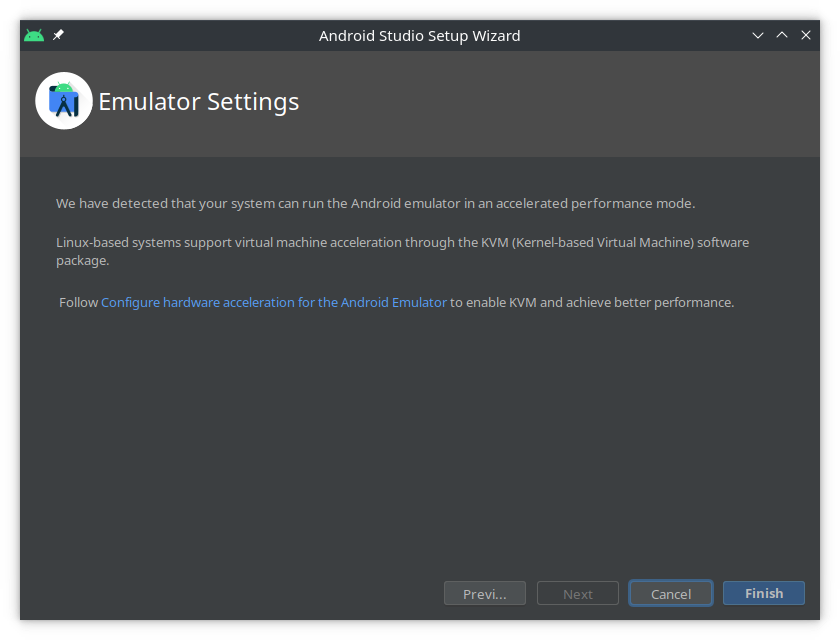
- Also check Configure hardware acceleration for the Android Emulator, and for Ubuntu Linux also check KVM installation
- Step 8:
2. Configure emulator
Once the Android Studio is installed, we need to create and configure an Android Virtual Device (AVD).
-
Open Android Studio and choose
New Project: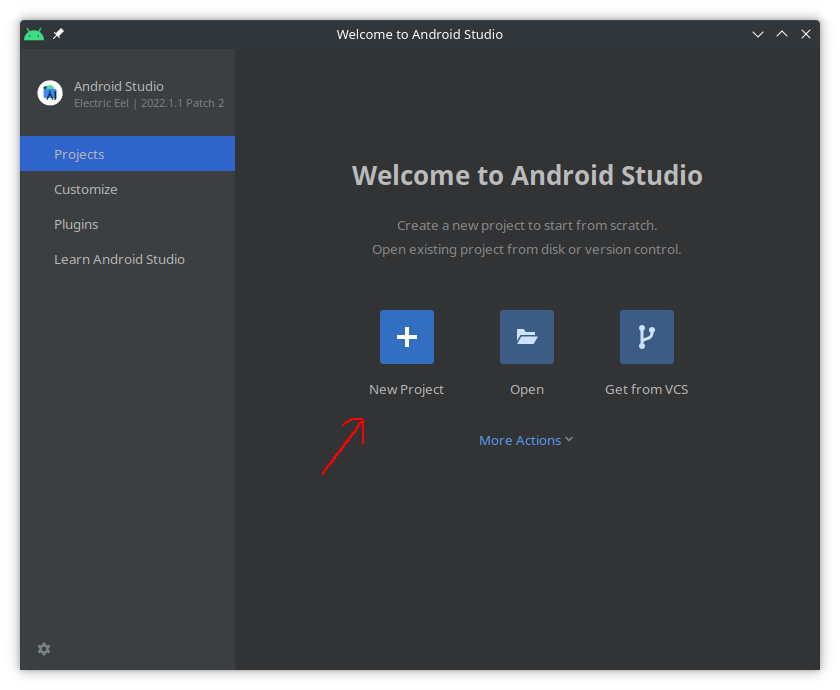
-
In the
New Projectwindow selectNo Activity, and thenNext: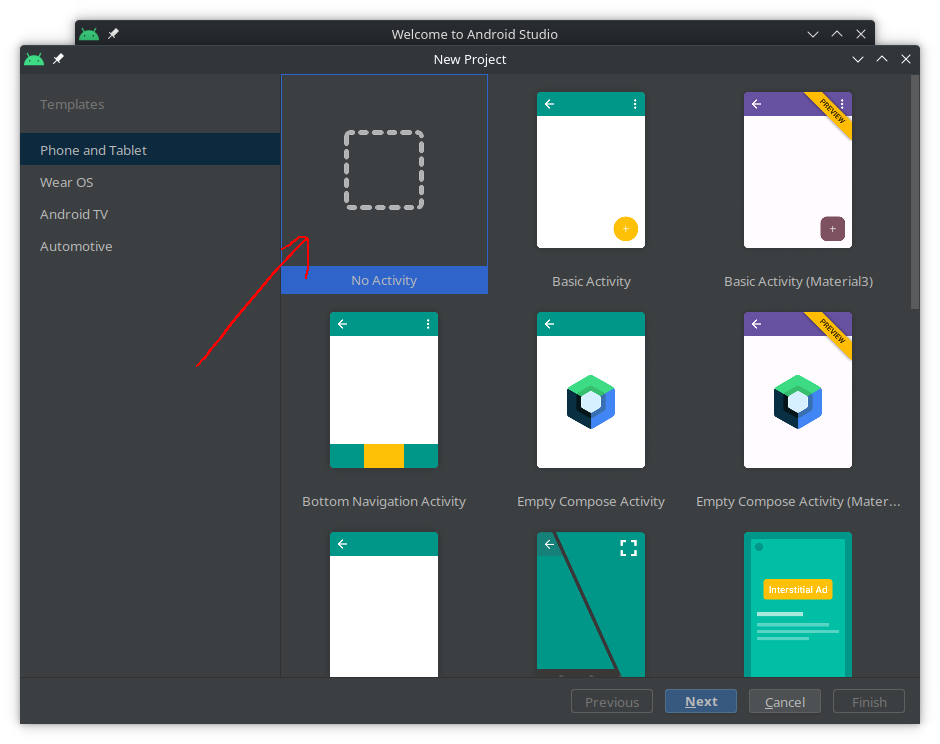
- On the
Configure Your Projectgive a name to it, likeMCIF-AFD2, and clickFinish: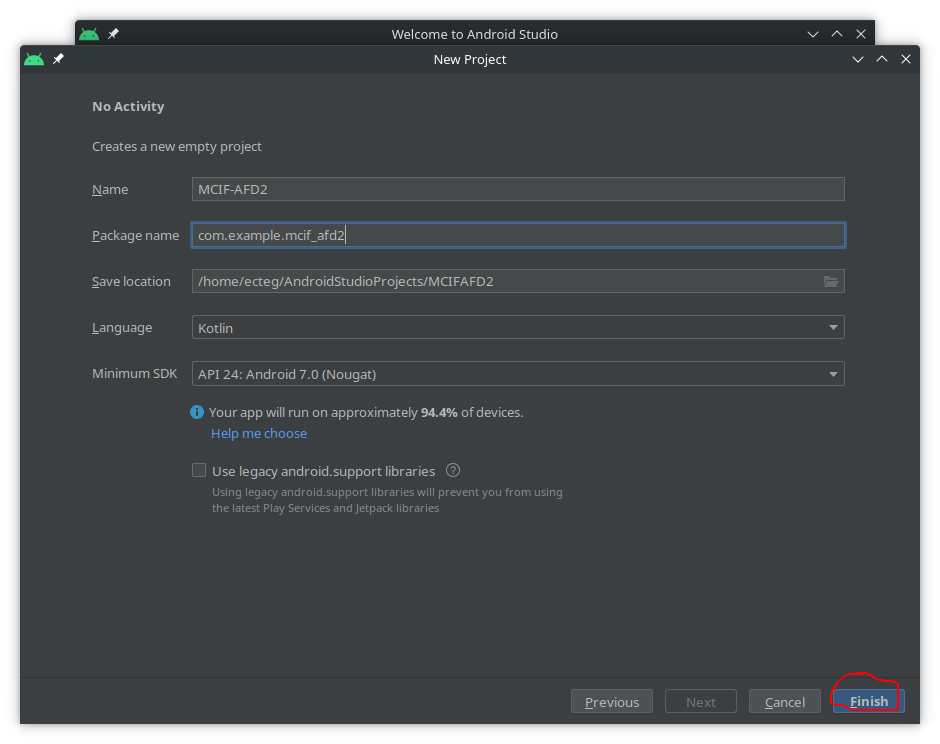
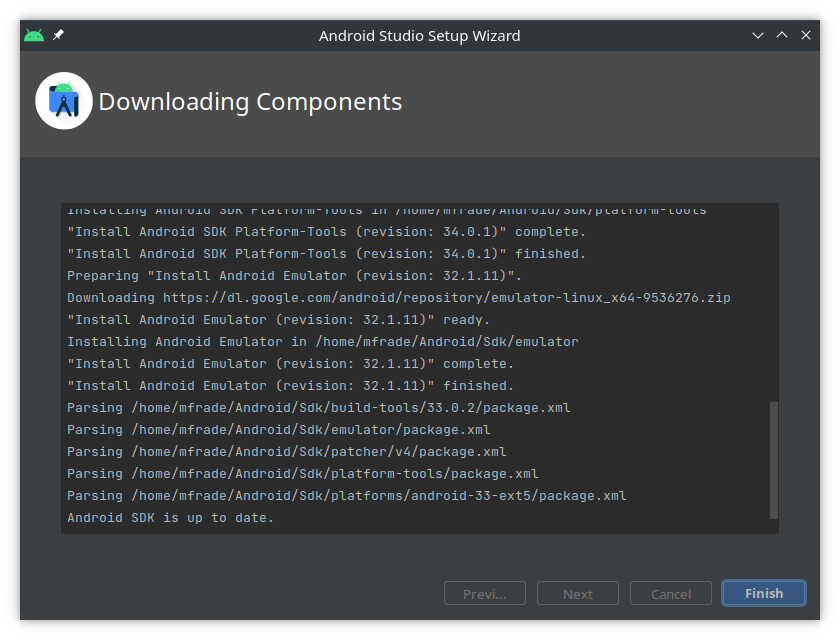
- Wait for the installation of the packages, then press
Finish.
- Wait for the installation of the packages, then press
-
The Android Studio IDE should be open now. Go to
Tools → Device Manager: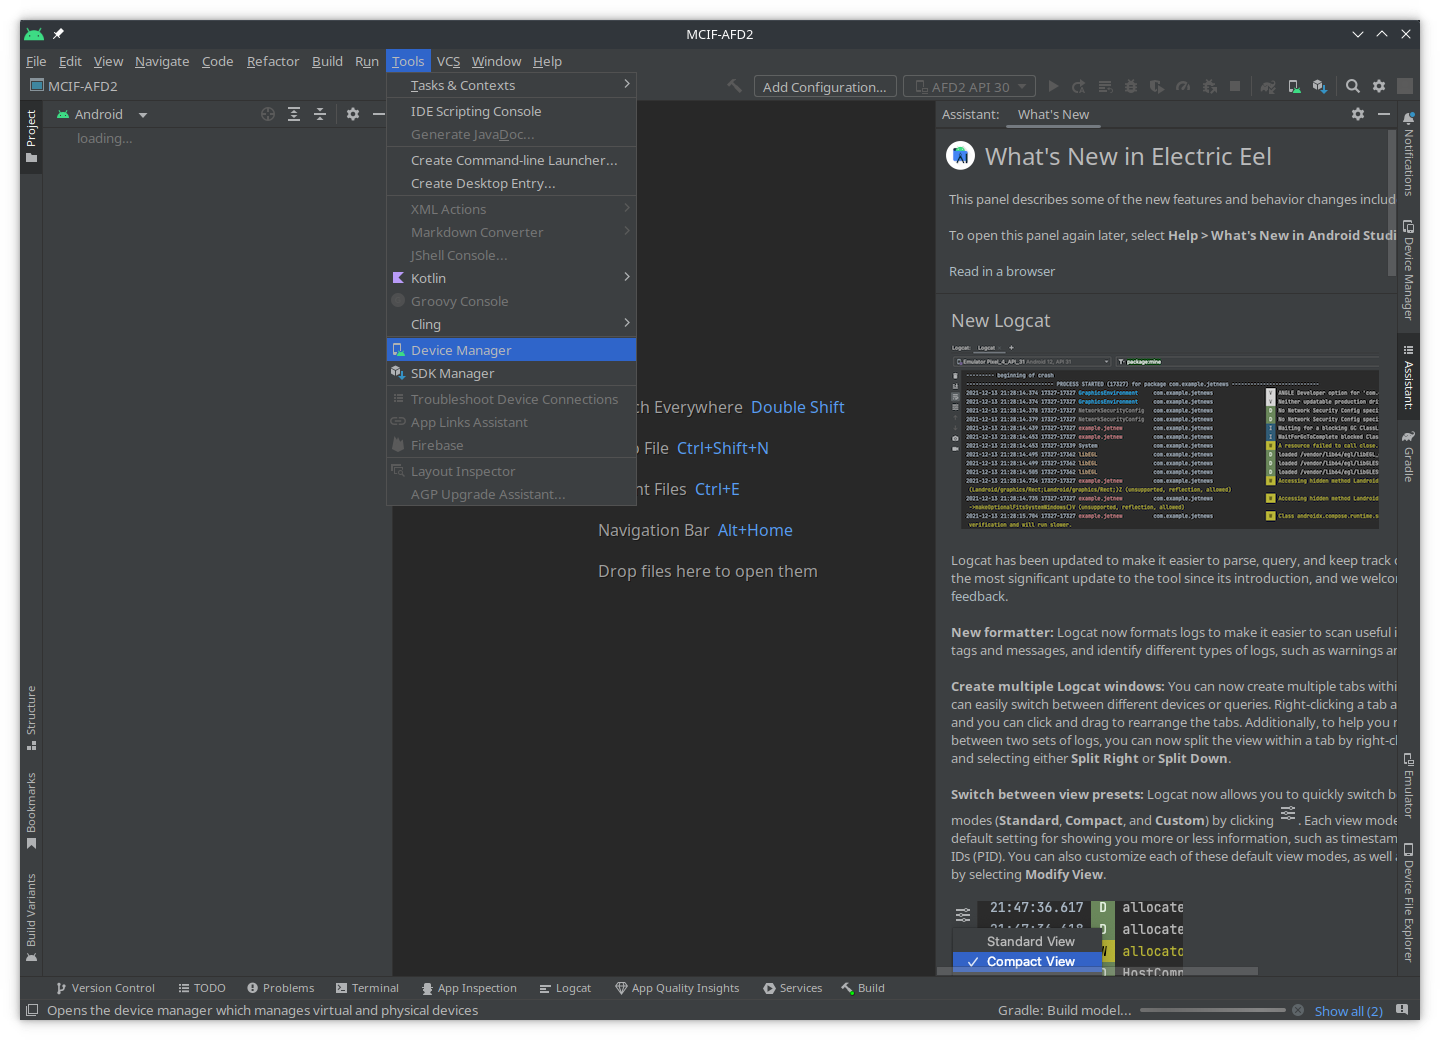
-
In the
Device Managersub-window, clickCreate Device: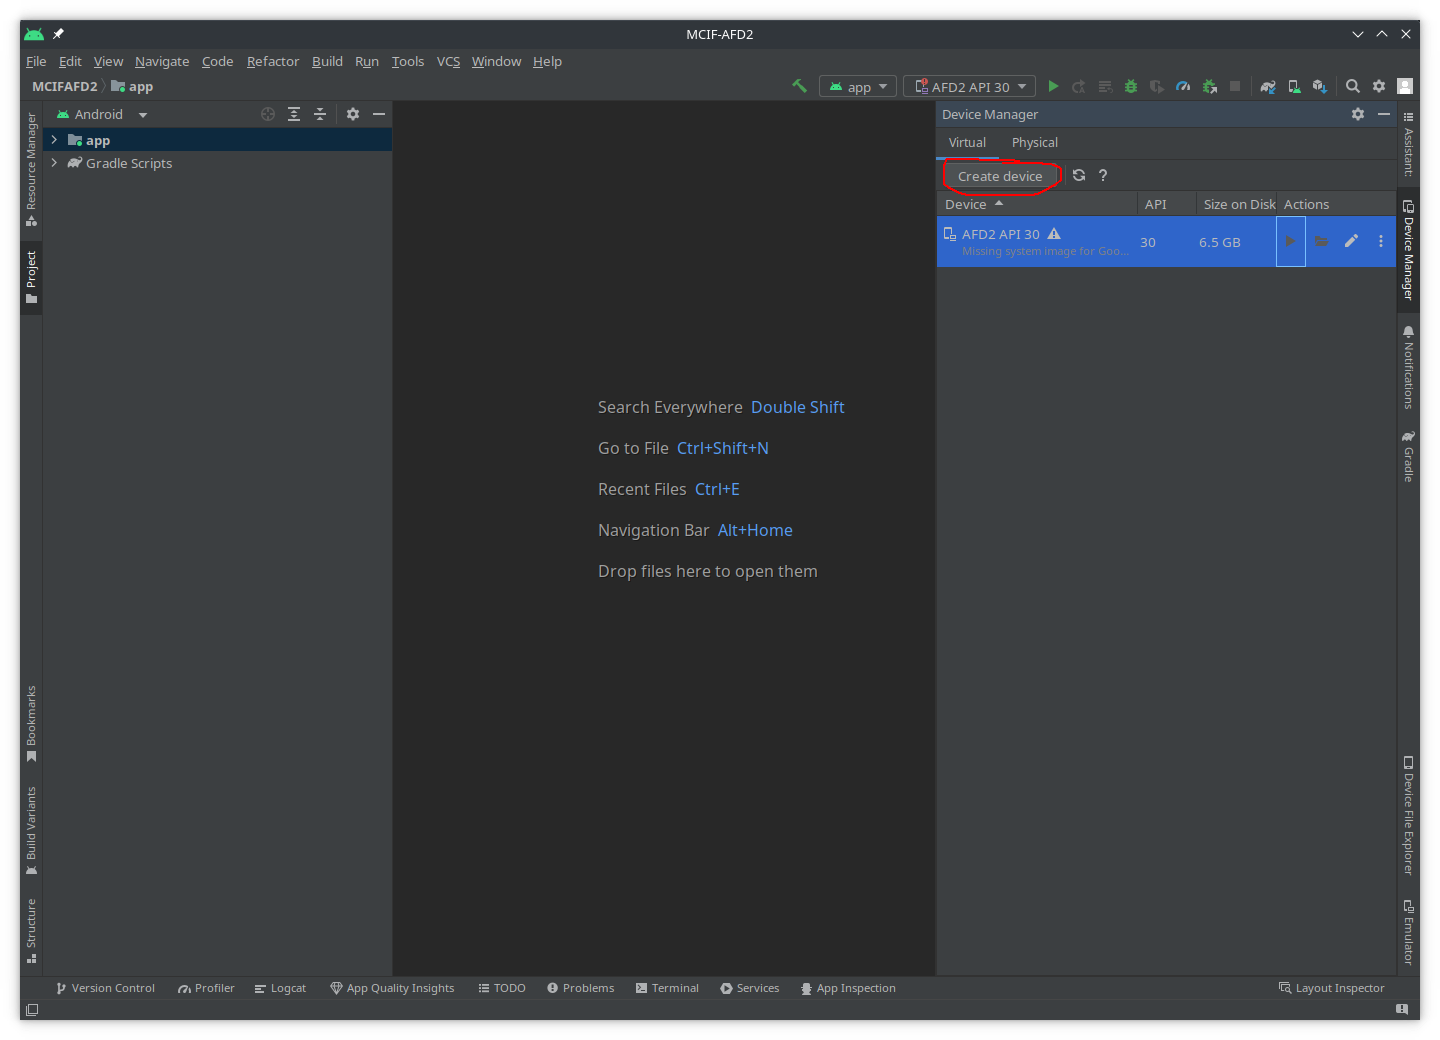
-
In the
Select Hardwarewindow, clickNew Hardware Profile: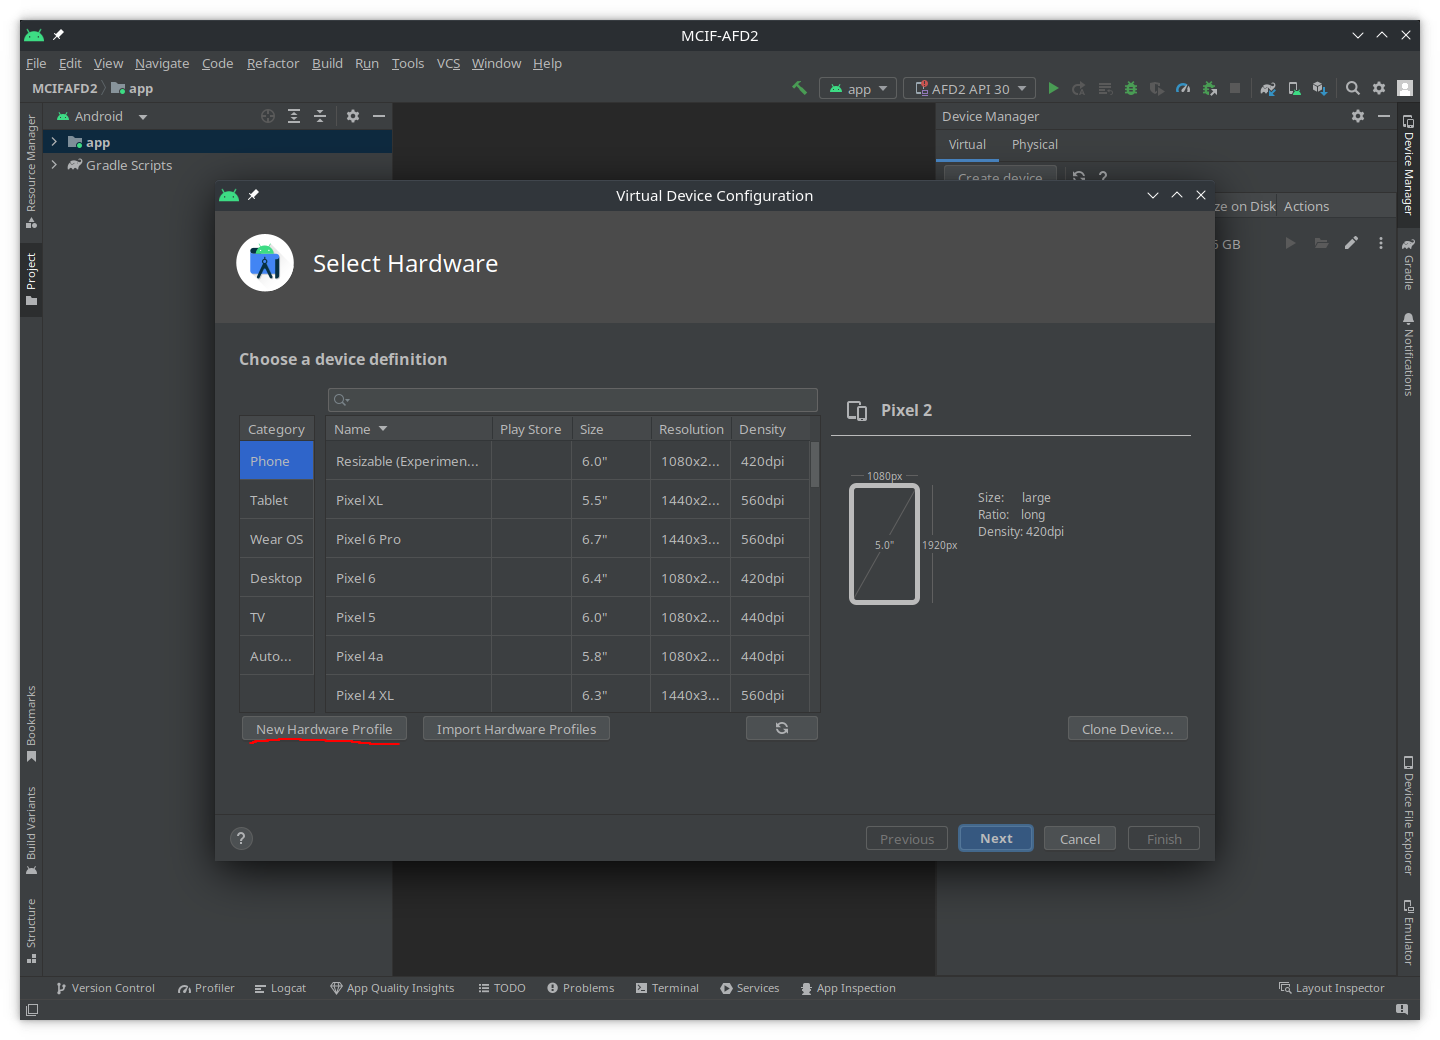
- A new windows will open, the
Configure Hardware Profile:- give a name to the device, e.g.
AFD2 Low resolution - chose a resolution (the lower the resolution the better the emulator performance will be), we recommend
320x640 - activate both
Inputcheck boxes (Has Hardware ...) -
then click
Finish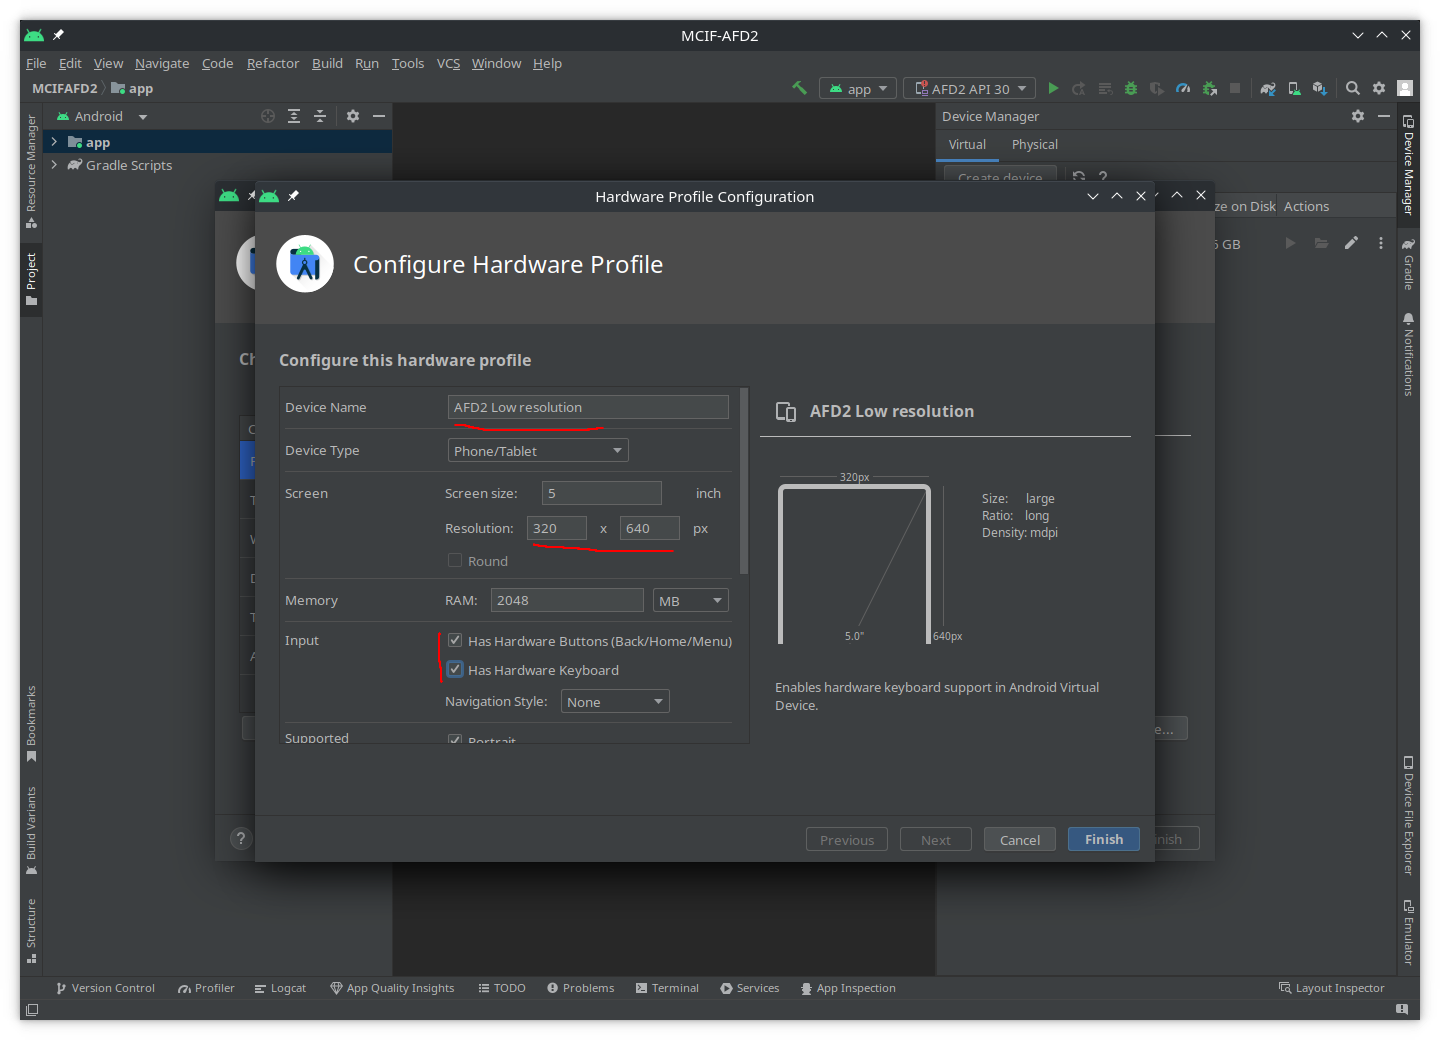
- Verify that the new devices exists, then press
Next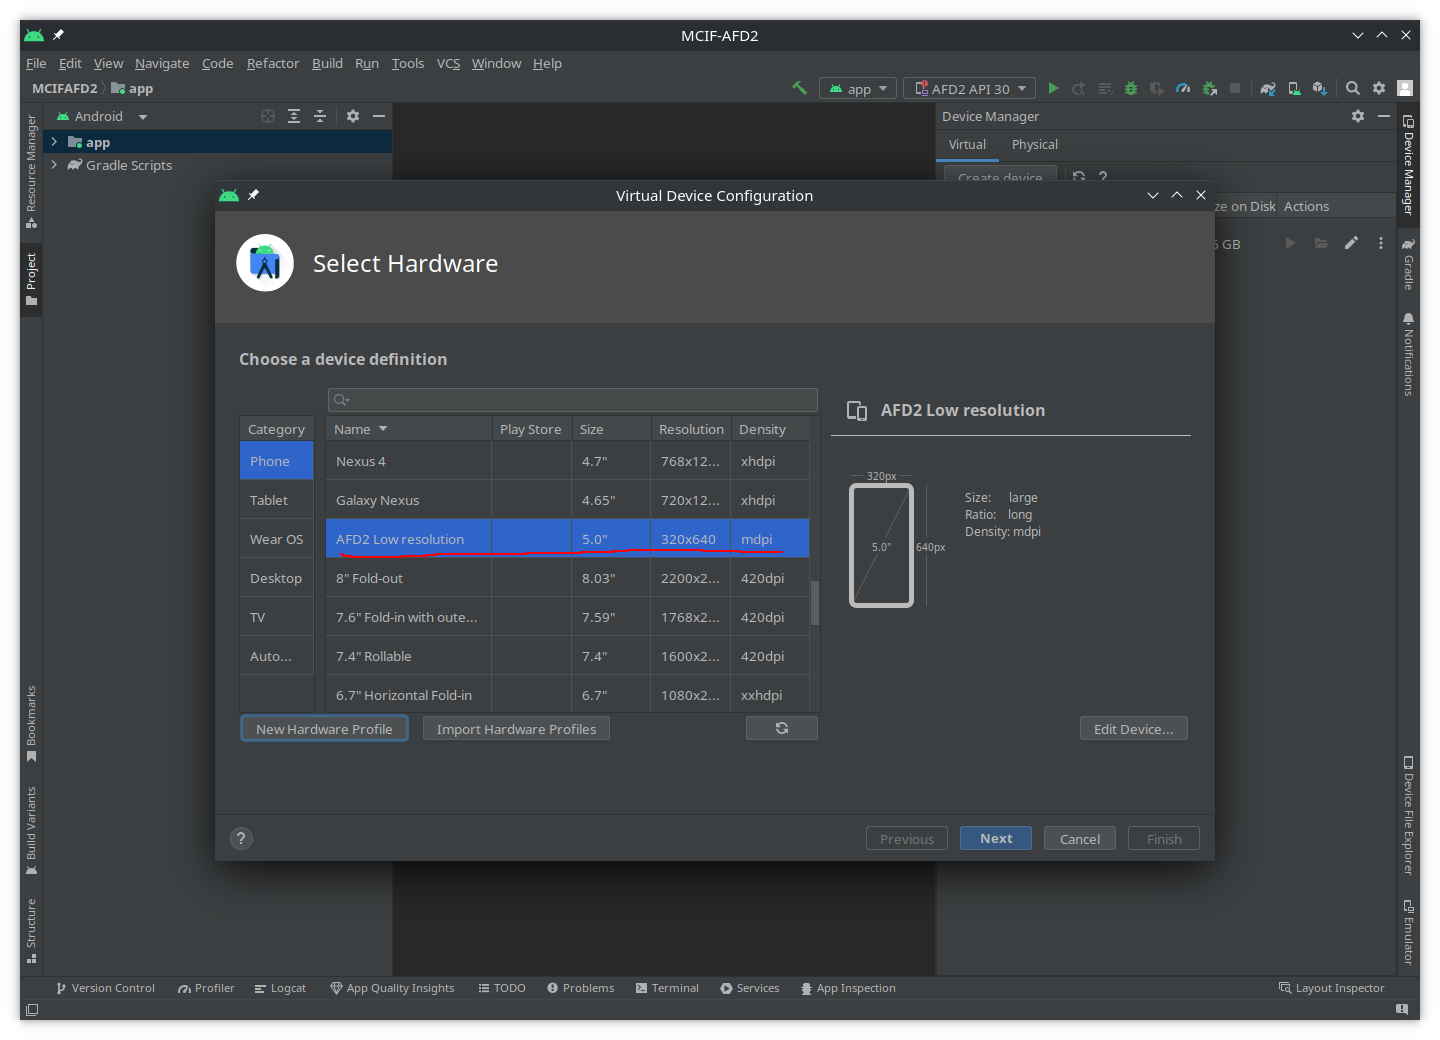
- give a name to the device, e.g.
- In the
System Imagewindow selectx86 Images, then selectAPI Level = 30(we don’t want the latest version because it’ll have more security features that make it harder for us to analyse apps) withABI = x86_64. Finaly click the down arrow next to theRletter to download the emulator files:
- Then click
Finish, andNext
- Then click
NOTE
We need root access to the folders inside the emulator, therefore we cannot select a system-image with
_playstorename, or symbol.
-
Now, in the
Android Virtual Device (AVD)verify the configuration and clickFinish: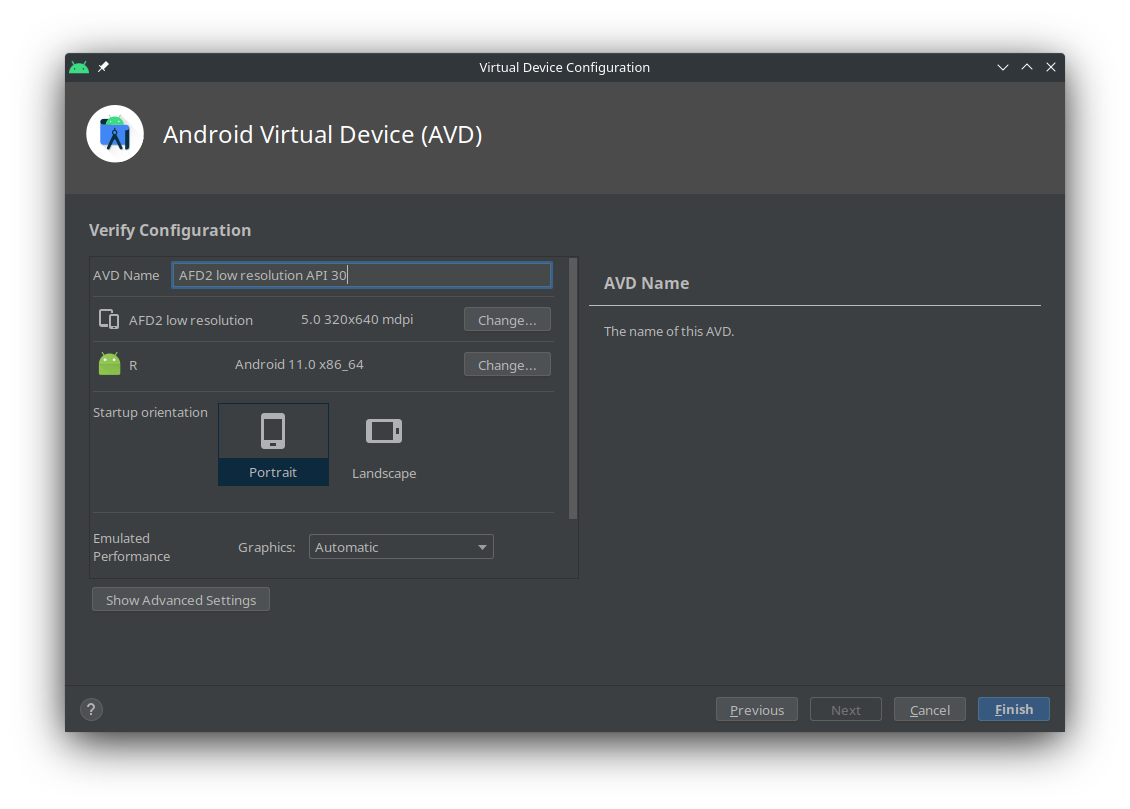
- The newly created AVD should now be listed in the
Devices. Select it and clickrun(triangle under theActionscolumn):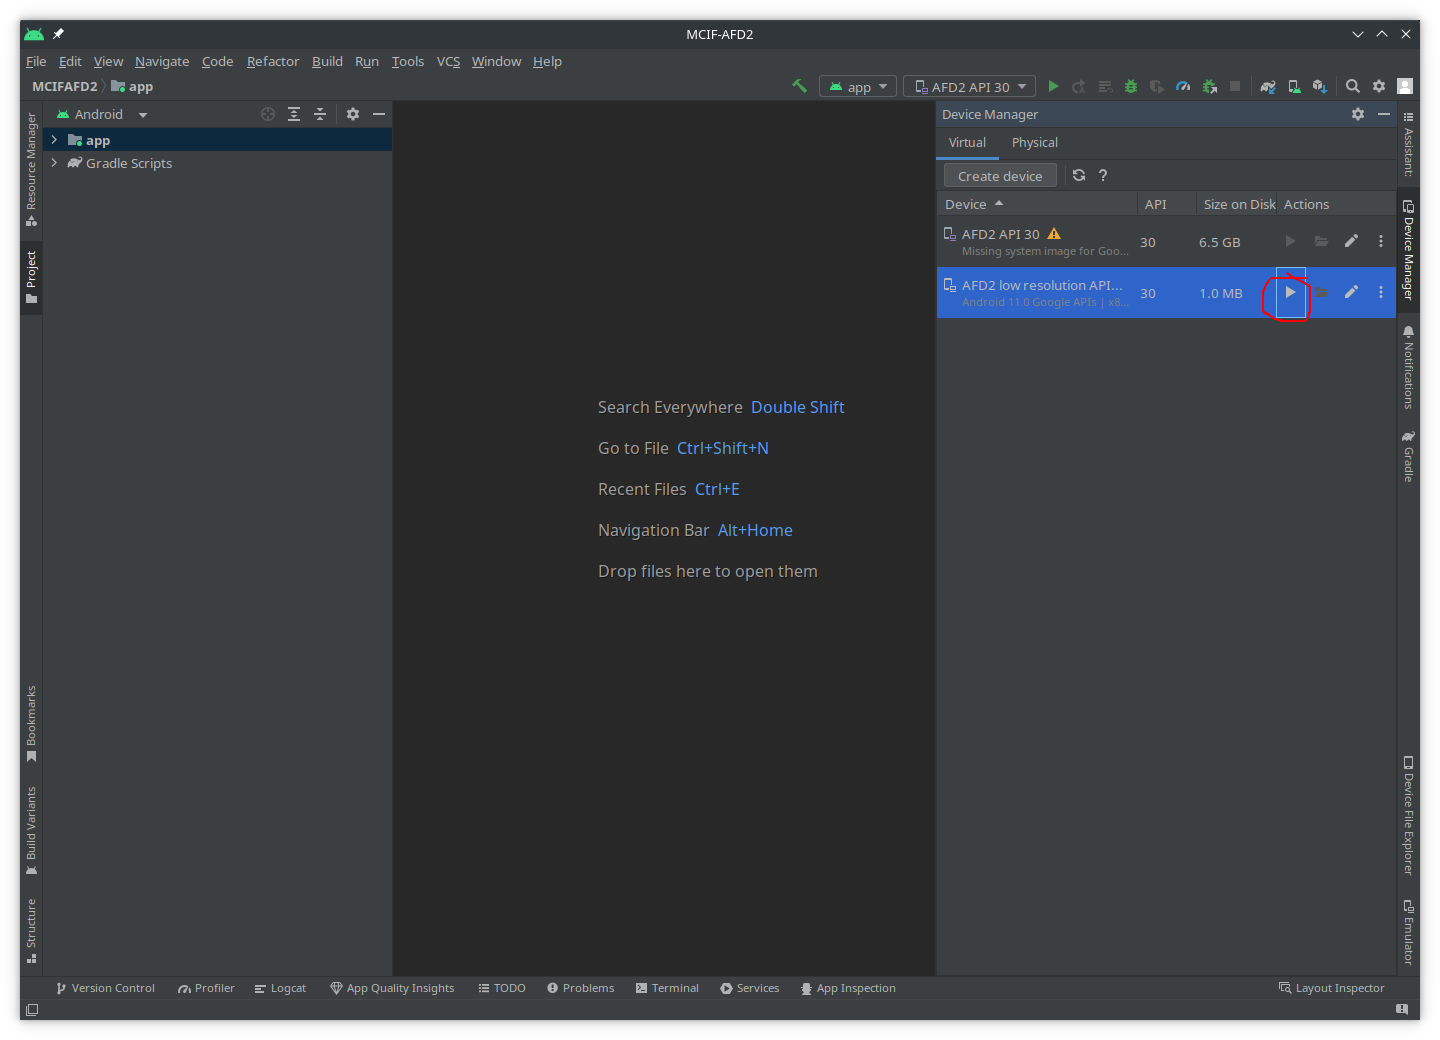
- You may detach the
Deviceswindow: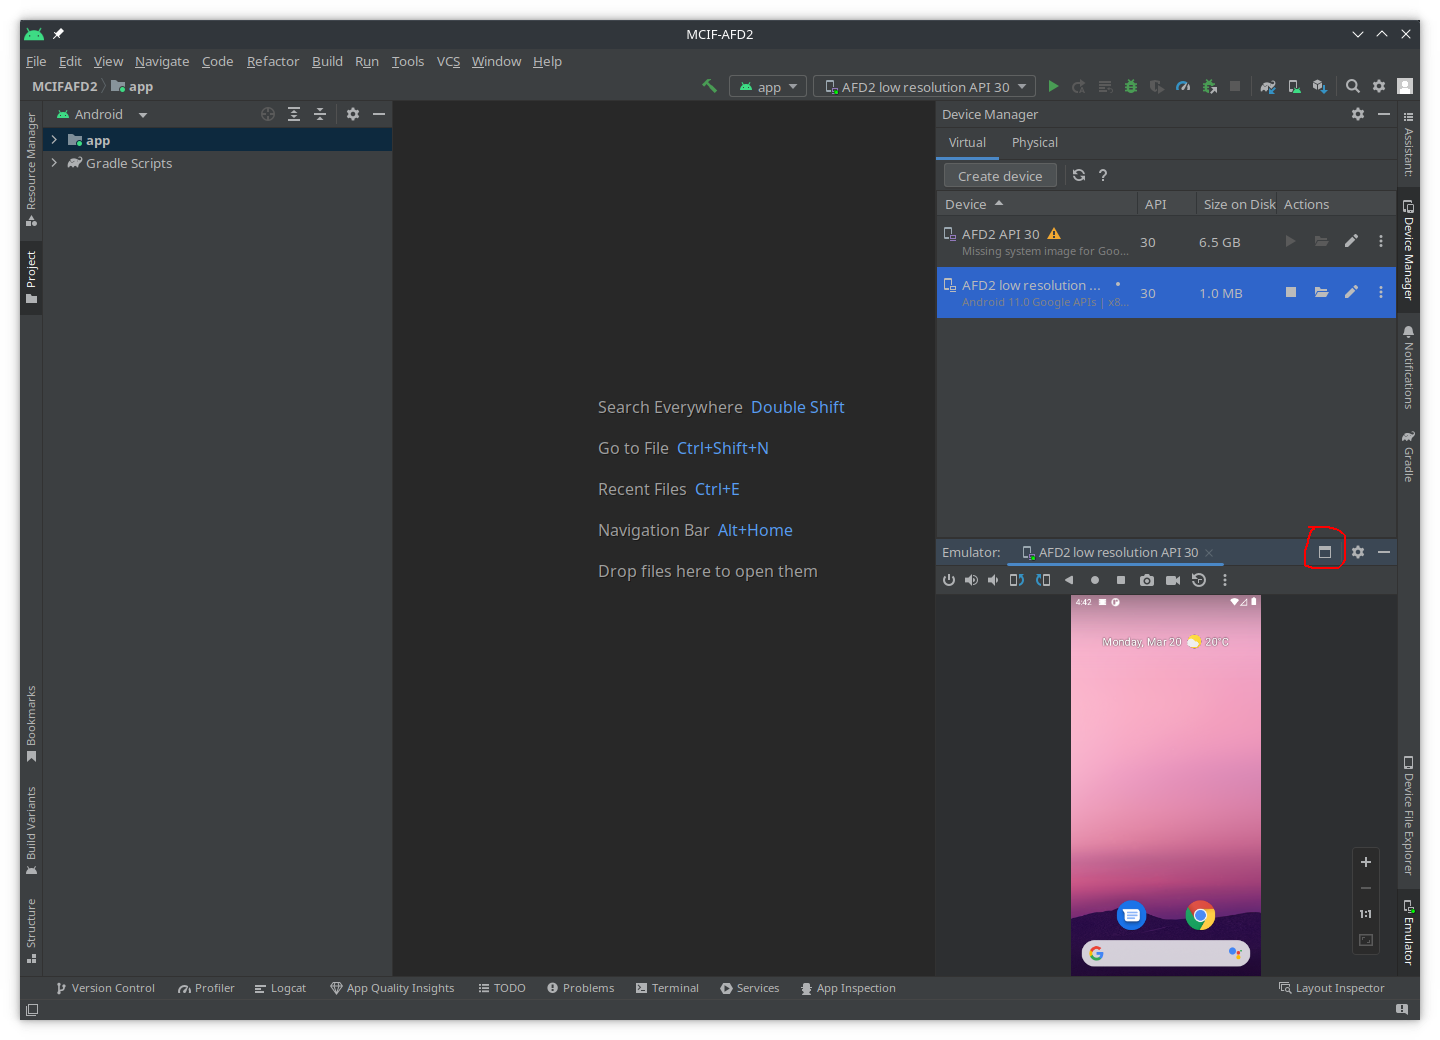
- You may detach the
- If everything goes ok, you should be able to see the emulator window. Notice the buttons
Power,Back,HomeandOverviewon top of the window. Interact with the emulated Android to confirm that everything is working.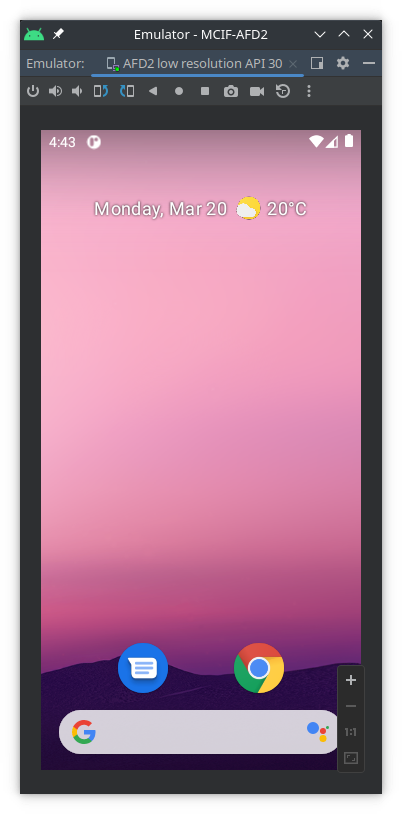
3. Exercise
After setting up the Android Studio Emulator and making sure it’s working, do the exercise listed here